Time: 10 minutes
Tools: 11/16 socket & electrical tape 

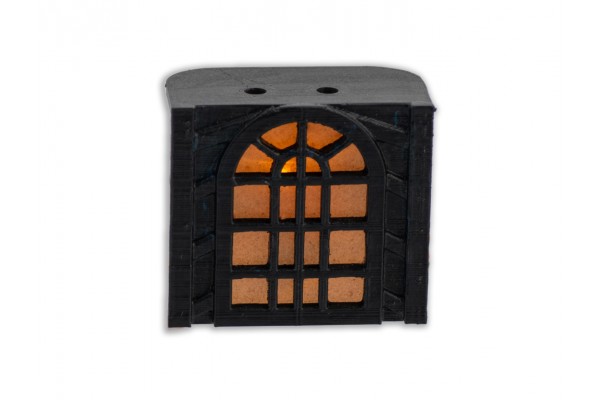
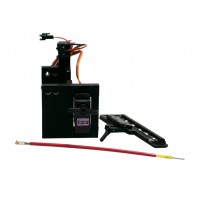
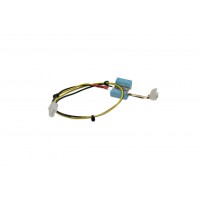
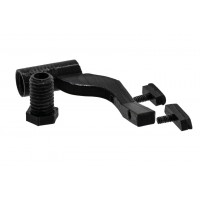
Included: Window filler mod with light & inline connection harness (not shown one large zip tie and several small zip ties)

1. Remove glass (be careful!) and lock bar. Tip playfield all the way up. 

2. Tape thin end of the large zip tie to the red female plug attached to the connection harness (example shown)

3. Slide thick end of zip tie up through the hole in the playfield where the rest of the ship wires go. My wire harness has a black cover on it now (you should do that too) but you should be able to figure out where your's is by the items in this picture. It's pretty much directly under the ship. 

4. Reaching above the playfield grab the zip tie from under the left side of the ship and pull it clear of the ship towards the center of the playfield. It may take a few attempts to get the zip tie up through the hole (hold the ship wiring to the lower right of the playfield so the zip tie comes up the top left). Gently lower the playfield. 

5. Pull the wires all the way through the hole in the playfield (until the harness is as far as it will go without pulling it all the way through, we'll pull it back down later). Be careful of the zip ties holding the wires in the harness together, go slow and don't yank it. 

6. Fish the tip (the large end) of the zip tie back under the ship, behind the wiring loom, towards the right side of the playfield. Grab the zip tie from the right side of the ship and pull the wires through to the right side of the ship. This image is looking under the ship from the right side of the playfield. 

7. Remove the two nuts that hold the top railing on the ship and remove the railing 

8. Thread all of the wire from the left side of the playfield, under the ship, to the right side. You can either now remove the zip tie from the wire harness or use the zip tie in this step. You are just fishing the wires up through the hole in the BP deck where the standup targets are. 

9. Thread all of the remaining wire up through the BP deck. Remove the zip tie from the red plug on the wire harness that you just pushed up through the ship deck. Connect the red end of the harness that you just pulled up with the red end of the harness attached to the window filler mod. Use some electrical tape to secure the connction so when you pull the harness back through the playfield it does not come undone. 

10. Carefully lower the window filler mod over the two black hex spacers (which the nuts were attached to). While you do this pull some of the wire back down through the ship deck so there is no slack above the deck. The hex spacers may be loose (snug them down hand tight) and you should check the two screws holding the spinner brackets to the ship deck, tighten if loose. Use your fingers to pull the standup target supports forward just a bit so the window piece slides behind. 


11. While sliding the window filler mod down make sure it goes over the existing wires behind the stand up targets and gently pull the wires from the filler mod down so there isn't a lot of slack above the ship deck. There should be a loop of wire sitting to the right of the ship deck (above the main playfield) that you just pulled back through. Put the top railing back on the ship and secure with the two nuts you removed originally. 


12. Carefully raise the playfield (don't catch the wires that are sitting on the right of the ship) and guide the loop of wire from the top of the playfield through the hole while pulling on the mod harness from under the playfield. Basiclally you are pulling the slack of the harness back under the ship and down through the main playfield. The wires should be snug from the mod, behind the standup targets, under the ship and down through the playfield and they should follow along with the rest of the ship wiring. 

13. Unplug the ship spotlight connector (2 pin molex, yellow & yellow/green wires on one side and blue & black wires on the other) and plug the harness inline, reconnect the spotlight. Use the smaller zip ties to secure the harness along with the rest of the wires. 

14. Lower the playfield, Bask in your flickering goodness. 


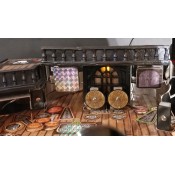
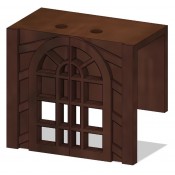
Enhance your Jersey Jack Pinball - Pirates of the Caribbean game with this cool window that is added to your Black Pearl right between the stand-up targets. This detailed 3D printed model is hand painted to match the rest of the Black Pearl. A historically accurate design which showcases a translucent window which is lit with a flickering LED behind it to simulate a candle or gas lamp. Easy plug and play installation for lighting and only a few nuts to put in place. Added benefit of this mod is that it protects the optical sensors (optos) for the two spinners, one of which can get bashed by the ball which coming up through the VUK. Use this to prevent broken optos. 

Wiring is plug and play.

Black Pearl Stand-up Target Illuminated Window

  • $95.00


Related Products

Spotlight Dimmer - Plug & Play

Spotlight Dimmer - Plug & Play

Spotlights in your Jersey Jack Pinball game (JJP) use a 12v source. It can be hard to find replaceme..

$12.00

pinballJ's Actuated Chest Mod

pinballJ's Actuated Chest Mod

It was in the prototype but didn't get produced in the final game. We all saw it, we all wanted it. ..

$195.00

Spotlight Flicker - Plug & Play

Spotlight Flicker - Plug & Play

Arrrr matey, yer light be flickering! Add a more authentic gas/flame light feel to any spotlight on ..

$24.00

Maelstrom Hidden Switch Mod

Maelstrom Hidden Switch Mod

So there is a huge black box in the middle of your playfield, want that gone? Then you just need thi..

$38.00

Black Pearl Ramp Support

Black Pearl Ramp Support

The Black Pearl ramp is supported at the top only on the right side. This leaves the left side to da..

$35.00

Tags: black pearl, jersey jack, jjp, pinball, pirates of the caribbean, plastic, potc