
TBL Lit & Interactive BOWLING Sign Mod
0. Pre-installation: Plug the power cable for the sign into the 5V Mod power in the backbox. See picture. Run the cable down through the bottom of the backbox and zip tie it to the wiring harness which leads to the center/rear of the playfield.
This mod requires the MPF (mini playfield) to be removed from the game. Dutch provides a document on this. Please review this and follow this guide as the first step of installing this mod. https://o.pinside.com/6/47/d0/647d07d8fcf8c18f380901580bf9cf4332516544.pdf
- Once the MPF is removed, remove the original sign and install the new sign in it's location. Use the included 3M mounting tab and zip tie to secure the sign wire under the MPF.
- Reinstall the MPF with two specific changes to the procedure:
- The cord for the sign will be run back down the same location as the other cables are that go to the MPF
- Use the new short IDE cable that came with the sign kit to install into the playfield IDE connector and run that cord down through the playfield where the other wires run for the MPF. Do not plug the original IDE cable into the MPF.
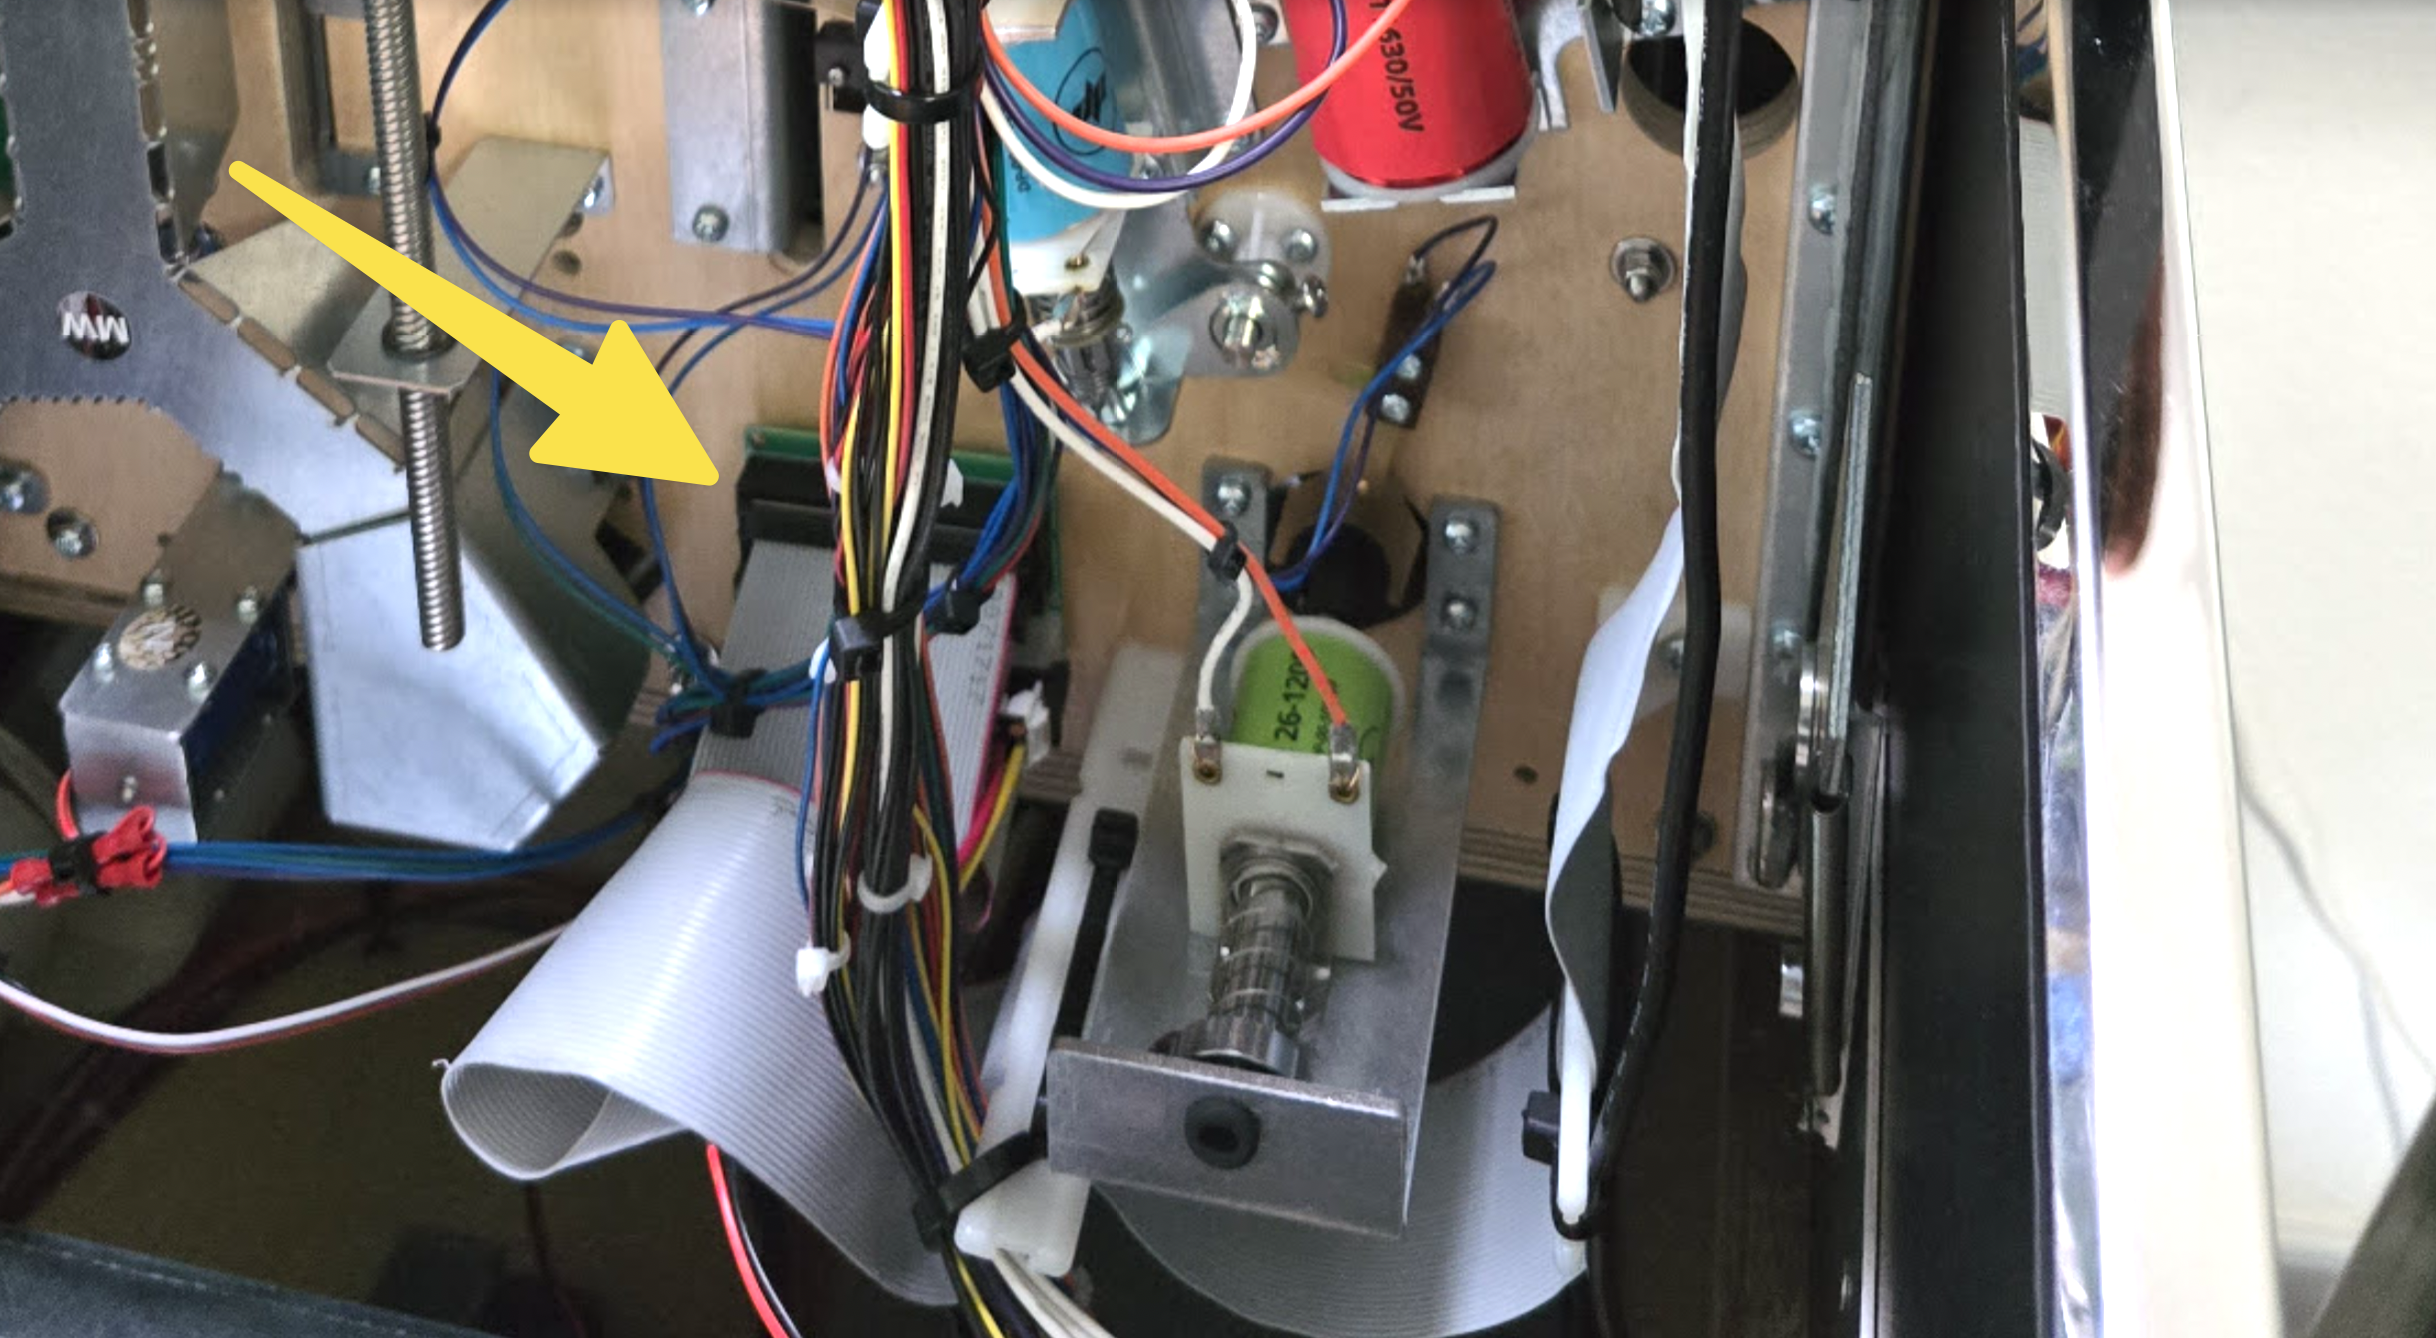
- The original gray IDE cable that ran to the MPF is very long and is wrapped up near the other end of the cable. If needed you can cut the zip ties holding the excess cable and extend the length of the cable to easily plug in to the sign PCB.
- Under the playfield, near the bottom center where the MPF cables come through you are going to install the PCB for the sign. There you will plug in a few connectors:
- The original, long IDE cable in the game will plug into the PCB in the "FROM GAME" connection.
- The new, short IDE cable will plug into the PCB in the "TO MPF" connection.
- The 3-pin plug for the sign will plug in to the matching connector on the PCB
- The 4-pin Molex plug provided in the kit will go from the backbox to this board in the matching connector.
- Attach the PCB to the underside of the playfield using the included velcro strip OR using some screws you can screw it in with the provided holes in the PCB.
- Done!